Blazing-fast rendering with a single material per scene
Most low-poly games feature a single color per face in their models. Because of this, low-poly models often have a low amount of colors, which means the scene that contains these models will have a low color count too.
One of the more costly operations in rendering is the material change. Having an scene with a single material will perform much better than one with multiple materials, one per-color. Also loading textures for each model can be pretty expensive, specially if they are high resolution. In complex, not low-poly models, there are hundreds of colors per object, but in low-poly models it is rare to have more than around 10 colors. So, how can we achieve a single material for all the low-poly objects in the scene?
First, let's take a look at the composition of this single material. The only thing that it has is an small, around 250x250 texture that contains all colors in scene. It look like this:
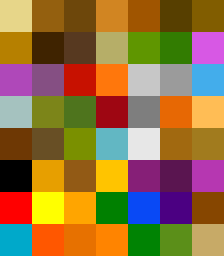
This is for a pretty big scene (Town!) so it has plenty of colors. The idea is to map the UVs of each surface of a color to its corresponding color in the texture. Let's see how to do it in Blender.
First, create your scene as you would normally. You can assign colors to surfaces by creating a material for each color. This is highly inefficient, but it is only to keep track of the colors and see how they look!
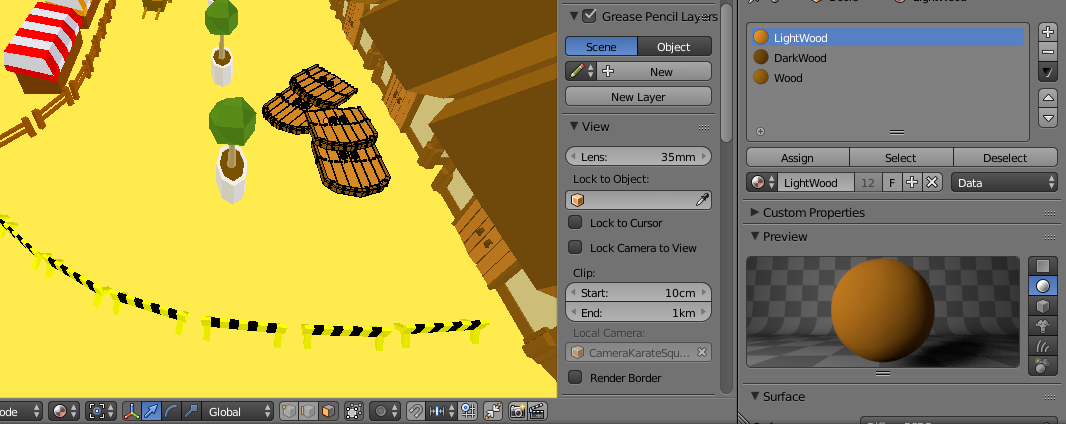
After you've done the entire scene, you have to create a texture that contains a matrix with all colors, like the one before. It doesn't need to be big, ours in only around 250x250px!
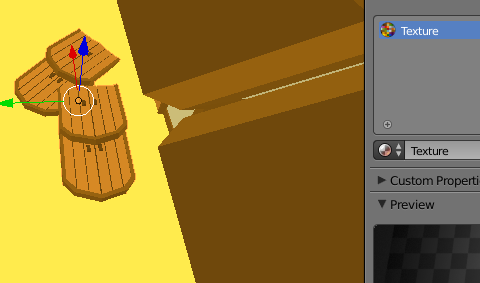
Now, this is where the fun begins. We will unwrap UV for each surface in an object with the same color. Enter Edit mode and select the vertices in the object that form this surface. In this example, we will do it with the light wood color in the doors in the floor (why are those doors even there? you have to play Duck in Town to know that :p)

Open the colors texture in the UV editor. You will get something like this:
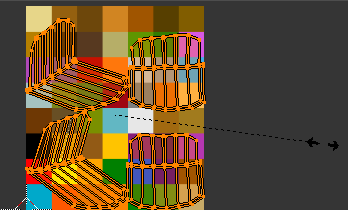
The idea is to scale this so it its entirely contained in the color that we want. Hit that scale button and move the vertices until you get them in the color.

Create a new material, and assign it the texture that we created. Rename that material to "texture_mat" or whatever.

When you have mapped all surfaces of the object in the texture, you can remove all other materials the object has and assign it only the texture material.
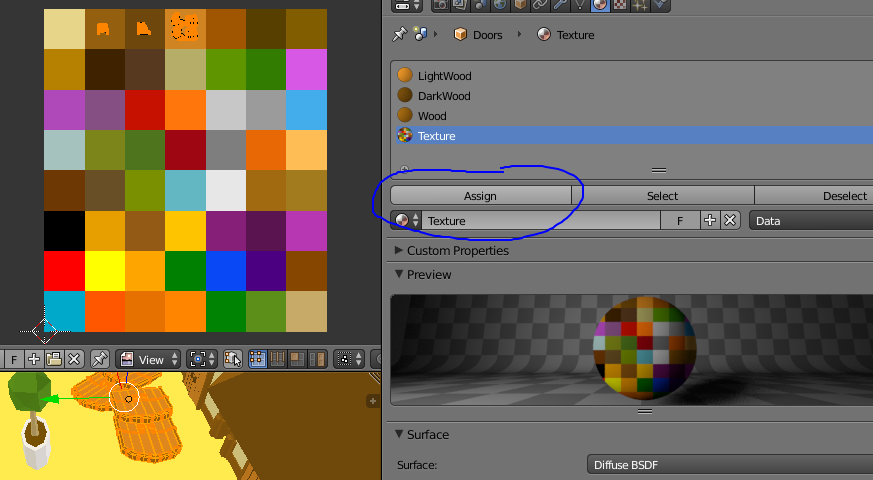
Now you can repeat this process for every object in the scene. However, make sure that you reuse always the same texture_mat that we created before. If not, the entire process will not make sense! To use always the same material, select an object that has the material and another that doesn't has it assigned yet, then go to the Material tab, select the material and click the specials menu button. There, click Copy material to others.
When you import the model into Godot (or any other engine you may be using) , every mesh will have exactly the same material, which means that you will be using only one material for the entire scene!
If you want to change another parameters for the material but only for certain objects, you can always duplicate the material and assign it only to the object that you want change. This means the scene will use two materials instead of one, but it is still super fast. Also, in low-poly aesthethic is pretty rare to have materials more complex than flat coloring. Make sure you have a good lighting and your scene will look super nice, and also render super fast :)
Get Duck in Town - A Rising Knight
Duck in Town - A Rising Knight
Discover the mysteries of Town and help Duckson in his quest to become a real Duck Knight!
| Status | In development |
| Author | Papaya Games |
| Genre | Adventure, Puzzle |
| Tags | 3D, Comedy, Cute, Episodic, Funny, Medieval, Narrative, Point & Click, Story Rich |
| Languages | English, Spanish; Castilian |
| Accessibility | Color-blind friendly, Subtitles |
More posts
- Duck in Town - A Rising Knight is OUT NOW!!Sep 30, 2019
- Press kit for Duck in Town - A Rising KnightSep 30, 2019
- We finally have a launch date: September 30th!Aug 30, 2019
- How to make an stylized fire shaderAug 15, 2019
- Trailer + Main artwork!!Aug 09, 2019
- Explaining the game's licenseApr 01, 2019
- Screenshot saturday: discover Town!Mar 30, 2019
- Writing a one-line cel shaderMar 25, 2019
- Building a versatile dialogue and interaction systemMar 23, 2019

Comments
Log in with itch.io to leave a comment.
I suppose this is faster than using something like modulate on all white models?
Sure, if you have different materials each with one modulate, your game will still compile a bunch of shaders. With this method, you only compile one shader per scene. It is also easier to work with!